05 Aug 2020
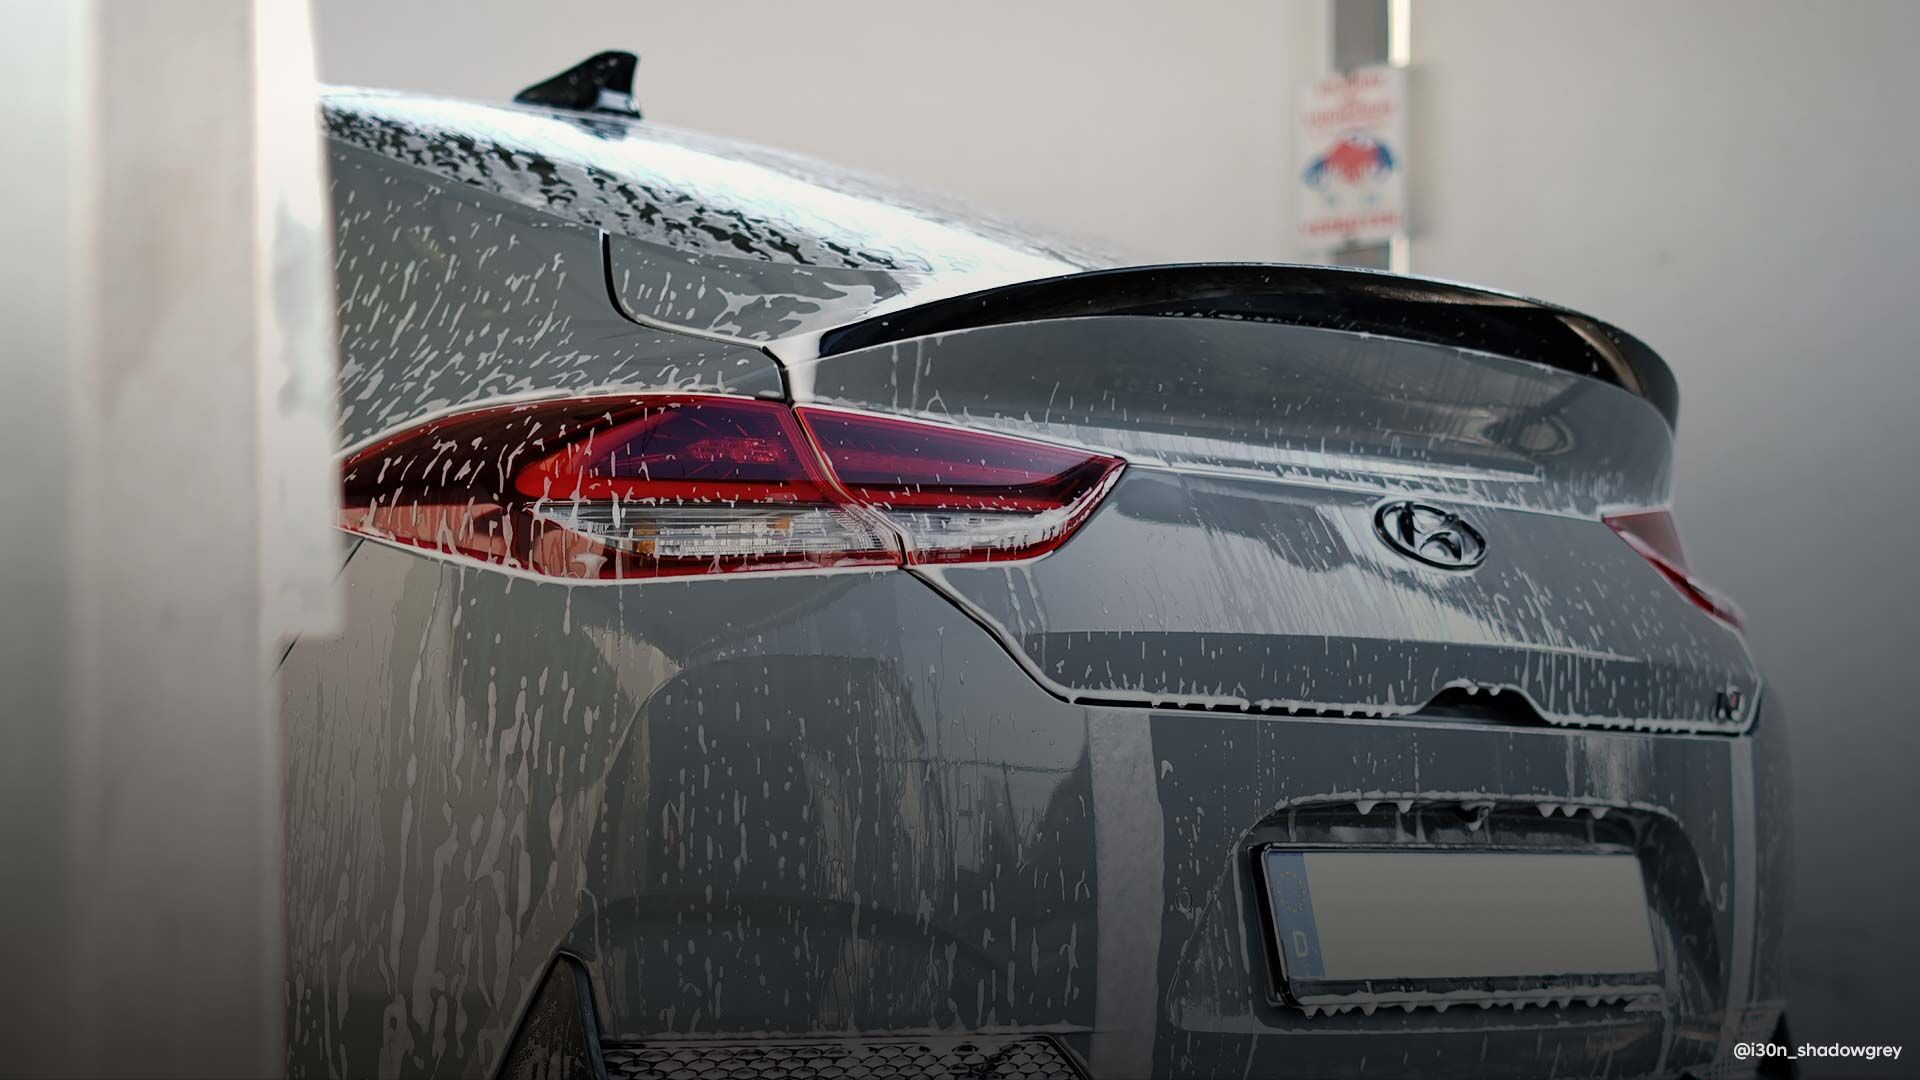
A huge thank you to our N-fluencers Marc Schwilling (@i30n_shadowgrey), Becca England (@kdmbecca), and Eric Seda Rivera (@velo_n.red2630) for their contributions to this piece.

How often do you get your car washed?
For some, it might be a weekly ritual to maintain their car, while for others it’s an overlooked chore. Properly cleaning your car can be overwhelming, as cars manufactured today are made of various materials such as leather, vinyl, cloth, plastics, chrome, and more. If you decide to clean your car yourself instead of purchasing professional services, you need to learn how to gently and properly clean each of its parts. Regularly washing your car not only prevents potential damages, but also improves its condition, safety, and value. Use our tips below to learn more about cleaning different parts of the car in simple and economical ways.
Floor mats and carpets
It’s time to clean up your car if you notice the dirt from your shoes is caked on the floor mats. The mats accumulate clouds of dust that can contaminate the inside of your car, so regularly cleaning the floor mats is a must.
The 4 most common types of mats are rubber, curly/nomad, coil, and 3D floor mats.
Rubber mats
The advantage of using rubber mats is that they are the most affordable and also relatively lighter. The disadvantage, however, is that rubber mats can also be slippery—especially in rainy or snowy weather, which causes some safety issues. Moreover, they’re unable to absorb specks of dust, so the dust simply accumulates on the surface, causing the mat to be even more slippery. All you need to clean rubber mats is a stiff brush and a wet towel. Rubber mats are often designed with grooves, so you should first start dusting off contaminants from the grooves with the stiff brush. Then after removing all the dirt, use the wet towel to thoroughly wipe any excess dirt left on the mat.
Curly/Nomad mats
Next is a curly mat, also known as a nomad mat. Many car owners use nomad mats because they’re available in different colors and can be custom fit to your car. Also, compared to rubber mats, nomad mats are able to soak up grime or liquid spilled onto the mat, minimizing spillage. The downsides are that it lacks elasticity, losing its original shape after being pressed on for some time, and can become as slippery as the rubber mat. Furthermore, it’s easier for mold and germs to breed as the mat soaks up impurities.
Cleaning curly or nomad floor mats can be easily done with coarse sea salt, a pair of rubber gloves, and a stiff brush. You might wonder why we use coarse sea salt for cleaning mats, but sea salt has excellent sterilization and adsorption capacity that makes it effective and useful for cleaning. First, with a pair of rubber gloves on, use a handful of coarse sea salt to rub the mats. You will be able to see the color of the sea salt turn darker as it adsorbs the dust on the mat. Continue to rub the mats with the coarse sea salt and a stiff brush to clean it thoroughly. Repeat these steps until the mats are clean.
Coil mats
Besides the cushioning effect, owning coil mats is convenient because it looks relatively cleaner than other types of mats—no matter how much dust accumulates, it absorbs the contaminant. It’s also relatively harder for germs to breed on coil material, so it’s generally more hygienic than curly mats. However, because of its outstanding absorbency, it’s actually harder for car owners to clean coil mats.
For coil mats, you need a vacuum cleaner, a garden hose with a nozzle, and a stiff brush. The mat grooves trap dust and grime, so first you need to suck out all the dirt with a vacuum cleaner. There may be excess dirt remaining between the gaps, so pressure-wash the mats with a garden hose and gently rub the mat with a stiff brush. Please don’t forget to dry your mats before putting them back inside, as slippery mats are not only dangerous but also create an environment that allows germs and mold to grow.
3D floor mats
3D floor mats are the most expensive option as they are produced with high-quality materials, but they do certainly add a more premium look to your interior. Most 3D floor mats are coated with artificial leather with anti-skid properties, a finish that’s convenient for car owners to clean. Cleaning 3D floor mats can be a regular job, but it doesn’t take longer than a few minutes; you can simply remove any dirt or stain with a wet towel or even wet wipes. Once you are done cleaning the mats, allow them to air dry completely to prevent any accidents caused by the slippery mats. Also, don’t forget to vacuum thoroughly where the mats were placed, and make sure you move the seats back and forth to ensure you don’t miss any hidden nooks and crannies.
Seats
The three main materials used for car seats are leather, vinyl, and cloth. Each requires different cleaning methods and care. Before using any cleaning products, give your seats a thorough vacuuming, even getting into the fold of the seats.
Leather seats
These days leather car seats are made out of natural leather, which gives the interior a premium look and feel. However, it is important to know the correct method of cleaning and managing leather seats, because improper care could lead to less durability or dirtier seats.
In fact, in many cases, car manufacturers cover leather seats with a thin layer of protective topcoat, semi-aniline, to improve the durability of the seats. However, most cleaning companies and car owners spray all-purpose cleaner on leather seats and scrub them with a magic eraser without considering this. This method may make your seats look cleaner, but it damages the leather as magic erasers have abrasive properties and peel off the coated shields. The proper way to clean and protect your leather seats is to use quality leather cleaners and protectors. You have to be extra careful when choosing the right leather cleaner and protector, making sure that the cleaner is capable of fully cleaning the grooves to restore the leather’s brightness. You also need to make sure the product can recover the scent of the leather, which may have faded due to oil, sweat, or grime. For leather seats, it’s best to have cleaning and detailing sessions every 6 months following the steps below, and to always wipe them with a dry towel to prolong their lifespan.
If you are all set with the right leather cleaning and protection products for your car, first apply the leather cleaner on a wave polishing sponge and gently clean every corner of the seats. After a thorough cleaning, wipe the seats with a dry towel and let them dry naturally. Once the seats are completely dry, apply some leather protector onto a cloth or towel and evenly apply all over the seats. Again, give the seats some time to completely dry and you’re all done.
Vinyl seats
Cleaning vinyl seats is a relatively easy process with little time and effort required. You can use store-bought upholstery cleaners that are formulated with water and stain-resistant properties or even a homemade natural cleaner. A homemade natural cleaner can be made by boiling an ample amount of orange peel for 30 minutes, mixing the orange peel extract and vinegar with a 10:1 ratio, and putting the liquid in a spray bottle.
As with all types of car seats, you should first vacuum the seats to remove any larger dirt or grime. Once you are done with the vacuuming, apply an ample amount of cleaner (store-bought or homemade) to a cloth and gently wipe the vinyl seats to remove any stains. After cleaning, dry off the seat with a dry towel or cloth and give it some extra time to dry naturally.
Cloth seats
Get a vacuum cleaner and spray bottle filled with natural cleaner, made following the steps mentioned earlier, or store-bought all-purpose cleaner. You can even just make one by mixing regular dish soap with hot water. Spray the cleaner on the dirty areas and wait a few seconds for the cleaner to soak in and soften up the dirt. Then just turn on your vacuum cleaner and suck up all the water and cleaner on the seat. Repeat this process 3-4 times until the stain is gone. Make sure the seat is completely dry before sitting on it as any moisture left on the seats could grow into mold and leave an unpleasant smell.
Safety belts
Car owners often neglect safety belts when it comes to cleaning; however, belts are easily soiled by sweat or makeup products. Cleaning safety belts requires you to follow a few simple steps with tools that can easily be found in any household.
Grab two one-sided scrub brushes, an all-use cleaner, two old hand towels, one old bath towel, a rubber band, and a binder clip. For towels, make sure you get old ones that you don’t mind getting dirty and only using to clean your car. First, pull the seat belt out to its maximum and clip it with the binder clip to prevent it from moving. Next, cover the seat with a bath towel to prevent any chemicals from splattering. Then, while you hold a hand towel behind the safety belt, amply spray the all-purpose cleaner on both sides. Overlap the two one-sided scrub brushes and secure them with a rubber band. By placing the safety belt between the overlapping brushes, you can wash both sides of the belt at once by brushing up and down. Depending on the cleanliness of your seat belts, you might need to repeat this procedure two or three times until the belts are clean. Wet a hand towel with water and wipe any excess dirt off the belts. Again, repeat this step three or four times until you don’t see any stains. Then finish up by wiping the belts with a dry hand towel until there’s no moisture left.
Windows and mirrors
Compared to other parts of the car, you might think that cleaning windows and mirrors is the simplest and easiest, but because glass is directly related to safety, the wrong cleaning methods can make it difficult to ensure visibility, especially during night drives. So cleaning windows and mirrors can be tricky even for professionals.
To clean the windows and mirrors, you need two used hand towels and a glass cleaner. We highly recommend you use old hand towels that you’ve used and that have gone through the laundry before instead of microfiber towels, as hand towels are better for cleaning glass. First, start by cleaning the outer glass. Pull the entire wiper assembly up and keep them vertical, then start wiping the glass with a moist hand towel. The important thing here is to clean the glass in layers, immediately folding the towel and wiping with the clean side whenever you see dirt stains on the towel. After that, immediately wipe the glass with a dry towel before the moisture evaporates to avoid any water stains, which could cause glare or halos when driving.
Glass cleaner isn’t necessary for the outer glass; however for the inner glass, it may be better to use store-bought glass cleaner especially if you smoke in the car. When you smoke in the car, sticky substances from the cigarette like nicotine get all over the inner glass. So you have to first remove all the sticky and dusty substances with glass cleaner before going on to the next steps. Now, it’s important to not spray the glass cleaner directly on the glass, but instead spray it on the towel to avoid streaks. Just like the outer glass, clean the inner glass in layers with the moist towel, then immediately wipe the droplets with a dry towel.
Dashboard & console
Most dashboards have a large surface area, the perfect place for clouds of dust to accumulate, which is then inhaled by the driver or passengers. And because the dashboards are directly exposed to sunlight, there is a high chance of the color fading, or in severe cases, the dashboard melting and becoming sticky. This is why you have to clean and take care of your dashboards regularly. Here is a simple way to clean and protect the dashboard.
First, dust the accumulated dust off from the dashboard with an air gun, brush, or a duster. Next, spray some all-season dressing (a formula that protects rubber and plastic) onto a towel and wipe the dashboard. Some all-season dressings contain UV protection chemicals that help prevent dashboards from changing shape, but you can also make your own DIY all-season dressing by mixing water and hair conditioner with a 10:1 ratio. You can also use this cleaning method for the steering wheel and transmission.
Air conditioning system & odor
Since air vents directly transmit air from the evaporator to passengers’ respiratory tract, it’s essential to continually check for bacteria and clean the air vents and air conditioner. An unhygienic AC system not only negatively affects the quality of the air but also emits an unpleasant odor. The ultimate purpose here is to prevent any fungi or bacteria from breeding in the AC system, and making sure only pleasant air circulates inside the car. A simple thing you can do is regularly replace the AC filter. Normally, it is ideal to change the filters every 3 months; however, for people that often drive around their children or elderly, it’s highly recommended to replace them every 2 months. There are various options available, but a HEPA filter is recommended since it’s able to thoroughly filter out ultrafine particles and only allow clean air to flow in. After replacing the filter, don’t forget to dust off the air vents with a brush to make sure no dust is inhaled by passengers when the AC is on.
Another tip is to ventilate frequently. To many people, cars are an extension of the home, but they forget that a car requires more ventilation than a house as its space is a lot more limited. And it’s not a good idea to place a store-bought air freshener in your car to eliminate unwelcome smells. Since air fresheners are left unattended and are constantly exposed to sunlight and heat, they deteriorate and create a different type of unwanted stench. Instead, a natural air freshener such as coffee grounds, dried flowers, or coal is a better option.
Most drivers immediately turn off the AC once they reach their destination. However, if you turn off the AC while it’s actively running, the sudden change in indoor temperature causes hot air and cool air to generate moisture and trap it inside the AC system. These water droplets will then decay inside the AC, causing impure air and odor to circulate. So when you turn back on the AC, it’s best to turn the AC to full power and leave the windows open for a few minutes to allow this bad air to ventilate.
Another possible cause of car odors is a dirty mat under the passenger seat. Usually the blower motors, a part that provides cool air when the AC system is on, are located under the glove box. So if dirt and contamination accumulate on the mat under the passenger seat, it results in an unpleasant smell. Regardless of the type of mat, you need to frequently clean your passenger seat floor mat, or try to replace it with a type that is easier to clean and manage.
Door jambs
Car owners often overlook the importance of cleaning the door jambs. Door jambs act as a seal between the interior and exterior of the car, which means they collect a lot of dirt and grime—they’re possibly one of the dustiest places of a car. Keeping the door jambs clean at all times is important, because that accumulated dust can be inhaled by the driver or passengers. You need a sponge, a plastic bucket, a towel, an all-purpose cleaner, a pair of rubber gloves, an old toothbrush, and two brushes without metal finishing. It is important to use brushes only with a wood or plastic body, because metal finishing can leave scratches on your car.
First, spray the all-purpose cleaner all over the door jambs and let it rest for a few minutes until the dirt disintegrates. Next, spray the all-purpose cleaner on a brush and gently brush off the door jambs. It is very important to brush from top to bottom to prevent the impurities from spattering into your face or eyes. For a more thorough cleaning, you can utilize the toothbrush, but for a wider area you can use a sponge soaked with all-purpose cleaner. Then wash everything off with water and finish by drying the door jambs with a towel.
Wheels
Have you ever realized that your tires are turning brown? This reaction is often called blooming and it happens because tires contain an additive called antiozonant, an element added to rubber to save tires from drying and cracking. If this is exposed to sunlight and ozone continuously, it becomes vulnerable to chemical changes and eventually results in browning. This process can also be somewhat prevented by thoroughly cleaning and protecting your tires. If a tire turns brown, that means it’s already oxidized and it’s better to use alkaline detergent rather than neutral detergent. You can buy a tire dressing, but you can also make a natural tire cleaner and dressing yourself at home. It’s simple: mix vinegar, liquid detergent, and water with a 2:2:6 ratio. After creating the formula, pour it into an empty spray bottle and thoroughly spray the cleaner on the tires. Meticulously scrub the tires with a stiff brush, then finish by cleansing them with water. For the tire protection dressing, make a mixture of silicone oil and kerosene with a 5:5 ratio and simply apply the mixture onto the tires with a brush or a sponge. When you apply the dressing, remember to apply it in a thin layer because if applied too thickly, silicon oil may spatter and contaminate the body of the car. Just by following these steps, you can keep your tires clean and shiny for the next few months.
Clean your car on the regular
We are all aware of the importance of regularly cleaning our homes for our general health and well-being. But washing a car is often considered a miscellaneous chore that regularly falls on the back burner, when it actually is a more confined space than the home. Cars need a regular wash, just like your body or home. When cars are cleaned regularly, they not only have a longer life span, but it also enhances safe driving and even improves your health. So, how regularly do we have to clean our cars? It depends on several factors: driving frequency and distance, residential area, weather, and even parking space. If you drive more frequently for longer distances, your car is exposed to external factors longer so it requires a more regular wash. And if you reside near a beach area or industrial park, you should wash your car regularly if your vehicle is exposed to high salinity or dusty areas, along with if your area experiences meteorological phenomenon like acid rain or yellow dust. Even parking indoors versus outdoors can affect the number of times you need to wash your car. Now make a habit of investing a few minutes or hours into cleaning your car on your off days. It’s really not just for the car, but for yourself.
Thank you again to our N-fluencers for their photo contributions. Check them out here: @i30n_shadowgrey, @kdmbecca, and @velo_n.red2630.